How to create animations with AI tools: 6 tools ranked
AI can generate motion now, but a generated clip is not a finished animation. Here is how to pick the right AI animation tool for the job, and what to do with the clip once it lands on your timeline.
Most AI animation guides stop at the prompt. You type a sentence, a model returns five seconds of motion, and the article calls the job done. Anyone who has shipped an animated ad, explainer, or reel knows the prompt is the easy part. The work starts when you have six clips at different lengths, no captions, no brand colors, and a deadline that wants the logo to land on the beat.
This guide ranks six AI animation tools by how much usable motion you get per hour, counting the cleanup. Then it covers the finishing pass no generator does for you.
The list at a glance
- Wireflow. Best for turning one script or still into a full set of animated shots in a single run.
- Runway. Best for cinematic camera motion on a single hero shot.
- Kling AI. Best for character animation and human movement that holds up in close-up.
- Luma Dream Machine. Best for fast image-to-video tests while you are still exploring the idea.
- Pika. Best for short social loops and playful effect shots.
- Vyond. Best for classic explainer animation with scenes, characters, and voiceover.
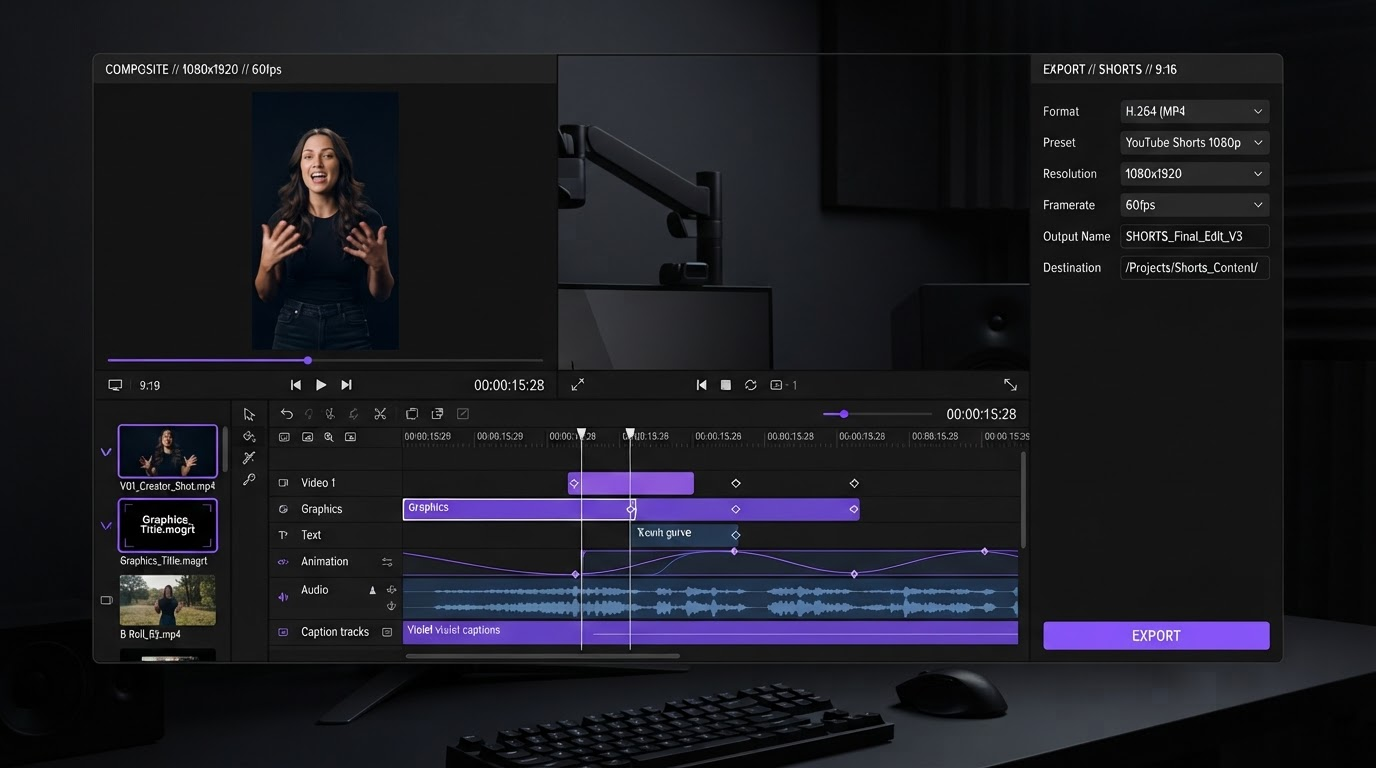
Quick answer:
- Pick the tool by output type, not by hype. Text-to-video for new footage, image-to-video for art you already own, scene-based tools for explainers with a script.
- Expect 4 to 10 seconds per generated clip. A 30 second animation is four to eight clips joined on a timeline, not one render.
- Budget as much time for finishing (trims, captions, audio, brand colors, export sizes) as you spend generating.
The three ways AI makes animation
Text to video. You describe a shot and the model builds it from nothing. Fastest way to get footage that does not exist, and the least controllable. Two runs of the same prompt give you two different characters, two different rooms, two different lighting setups. Use it for abstract motion and establishing shots, where exact continuity does not matter.
Image to video. You upload a still and describe how it should move. Most production teams land here, because you control the frame before any motion happens. Art-direct the still, approve it, then animate it. Our walkthrough of AI video effects covers how far one still goes before you need a second generation.
Scene-based animation. Tools like Vyond give you characters, props, and backgrounds, and the AI assembles scenes from a script. Nothing is generated from scratch, so nothing drifts. You trade novelty for reliability, which is the trade a corporate explainer wants. Most real projects mix all three.
1. Wireflow
Wireflow is a node canvas that chains generation steps together, so one input can produce a whole sequence instead of a single clip. You give it a script or a reference image, wire the shots in order, and it returns the animated shots already generated against the same visual anchor. That anchor is the reason it ranks first here: character and style drift is the single biggest time sink in AI animation, and running every shot from one approved reference kills most of it.
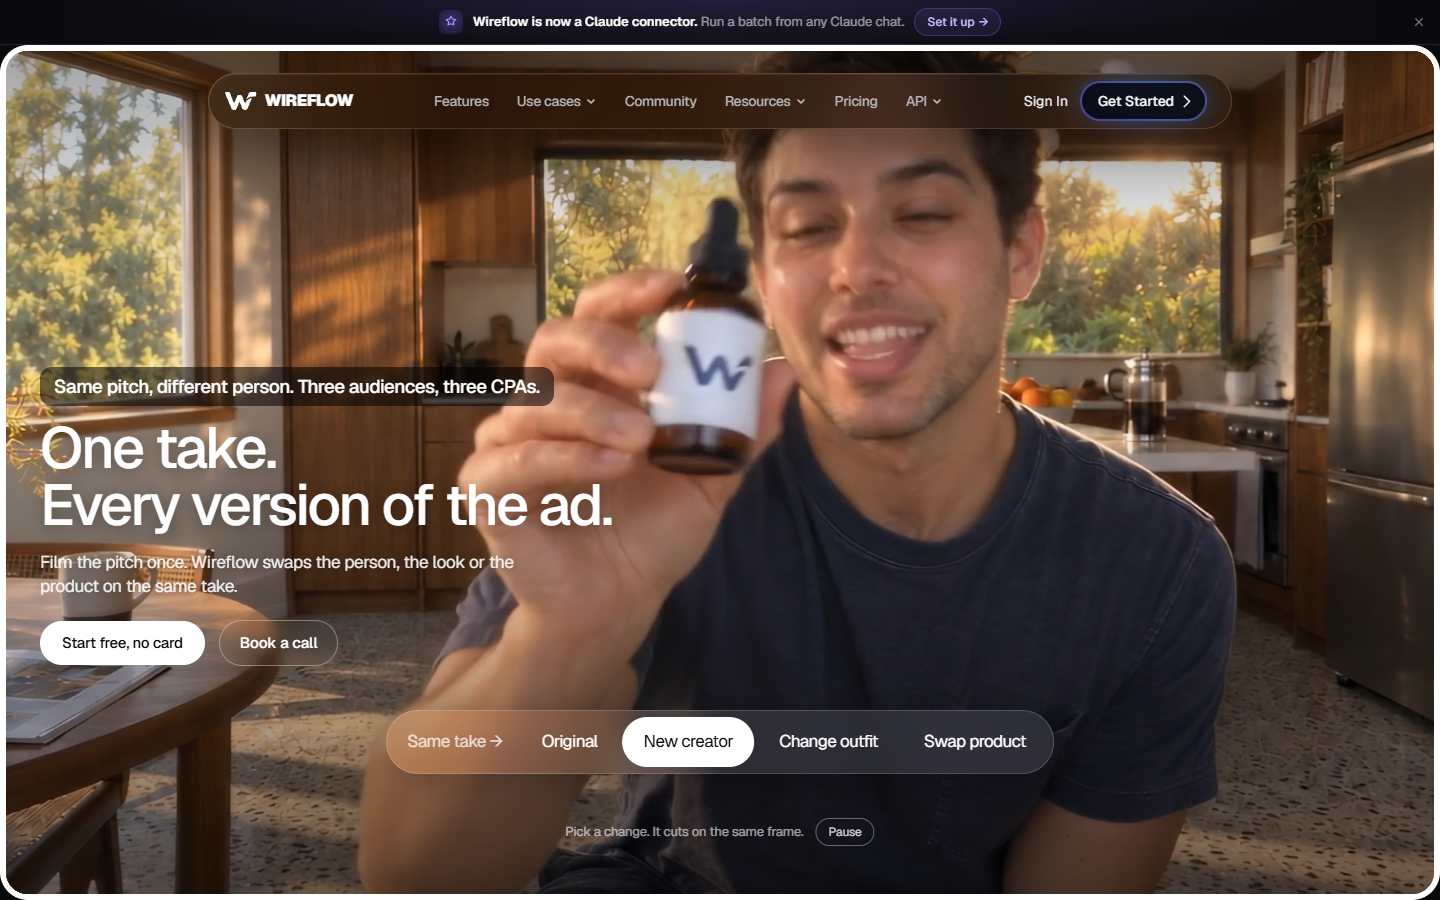
It also reaches several animation models from one place. Model quality moves every few months, and a canvas where the generator is a swappable node lets you test a new model on an existing sequence instead of rebuilding around it.
Verdict: Best for multi-shot animation where every shot has to look like it came from the same production. Weakest if you only need one five second clip, where a single-purpose generator is quicker.
2. Runway
Runway remains the reference point for cinematic AI motion. Camera moves read as real camera moves: dolly, orbit, rack focus, handheld drift. If your animation needs one hero shot that looks like it was filmed, this is still the first place to try.
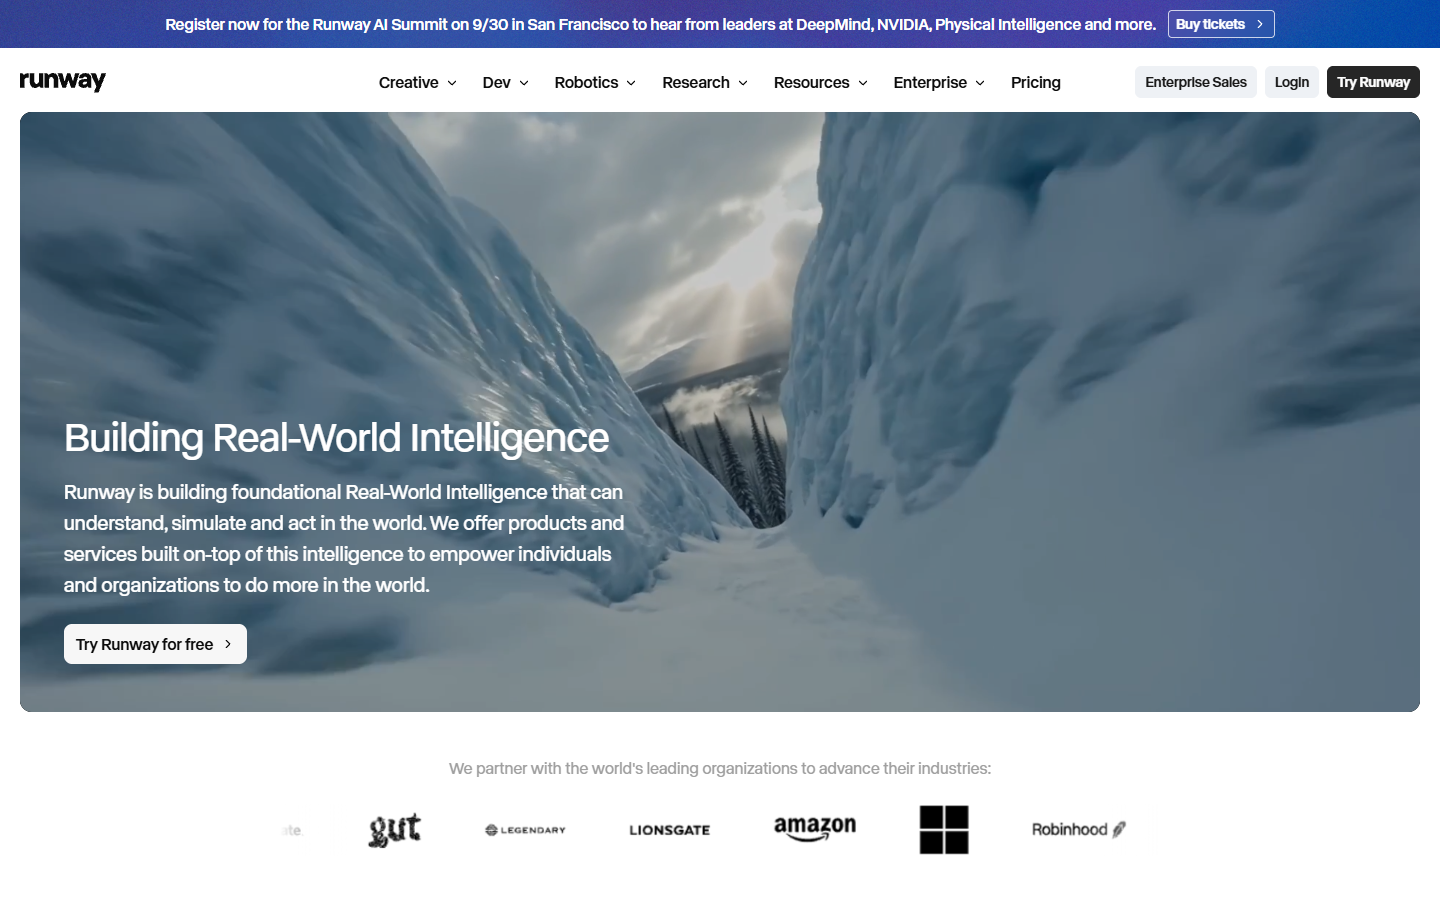
The tradeoff is cost per attempt and a strong house look. Runway shots tend to announce themselves, which is fine for a title sequence and awkward for a brand that already has a visual system.
Verdict: Best for cinematic camera motion on a single hero shot. Expensive if you are exploring rather than executing.
3. Kling AI
Kling handles people better than most. Limbs stay attached, faces hold across a shot, and walk cycles do not melt halfway through. For any animation with a human or a humanoid character on screen, it is the strongest option on this list.
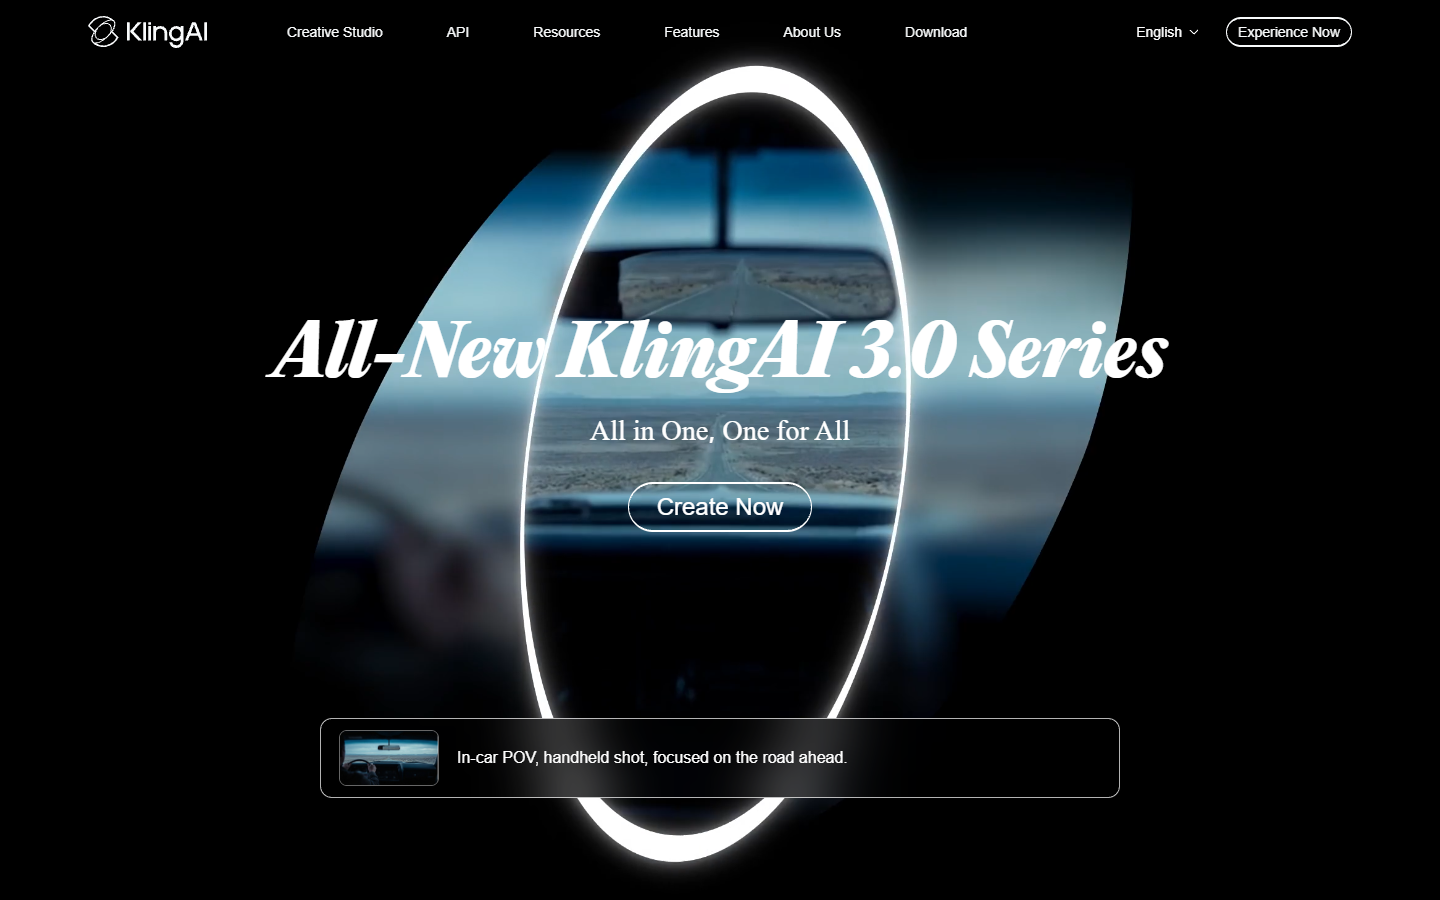
Queue times swing hard with load, so plan generations the day before a deadline, not the morning of. Use its image-to-video mode, give it a clean character render, and keep each prompt to one action. Two actions in one prompt is how you get a five second clip with a cut in the middle of it.
Verdict: Best for character animation and human movement. Plan around unpredictable queue times.
4. Luma Dream Machine
Dream Machine is the cheap, fast option for finding out whether an idea works at all. Turnaround is quick, the free tier is generous enough to test a concept, and image-to-video is genuinely good for the price.
Quality sits below Runway and Kling on complex motion, so treat it as the sketching tool. Generate ten variations here, pick the two that read, then regenerate those two on a stronger model. That two-stage habit saves more money than picking any single tool.
Verdict: Best for fast exploration and previz. Step up to a stronger model for final shots.
5. Pika
Pika is built for short, loud, social-native motion. Its effect presets (inflate, melt, explode, squish) produce the single-beat visual gag that performs on a feed, in one click instead of a paragraph of prompt engineering.
It is not the tool for a 60 second explainer. It is very much the tool for the three second loop at the top of a reel, or an animated reaction beat you drop between two talking-head clips. Those clips loop cleanly, which makes them useful as GIF assets as well as video.
Verdict: Best for short social loops and effect shots. Not built for long-form narrative.
6. Vyond
Vyond is the outlier on this list because nothing is generated from scratch. You get a character library, props, backgrounds, and an AI script-to-scene step that assembles a storyboard you then adjust by hand.
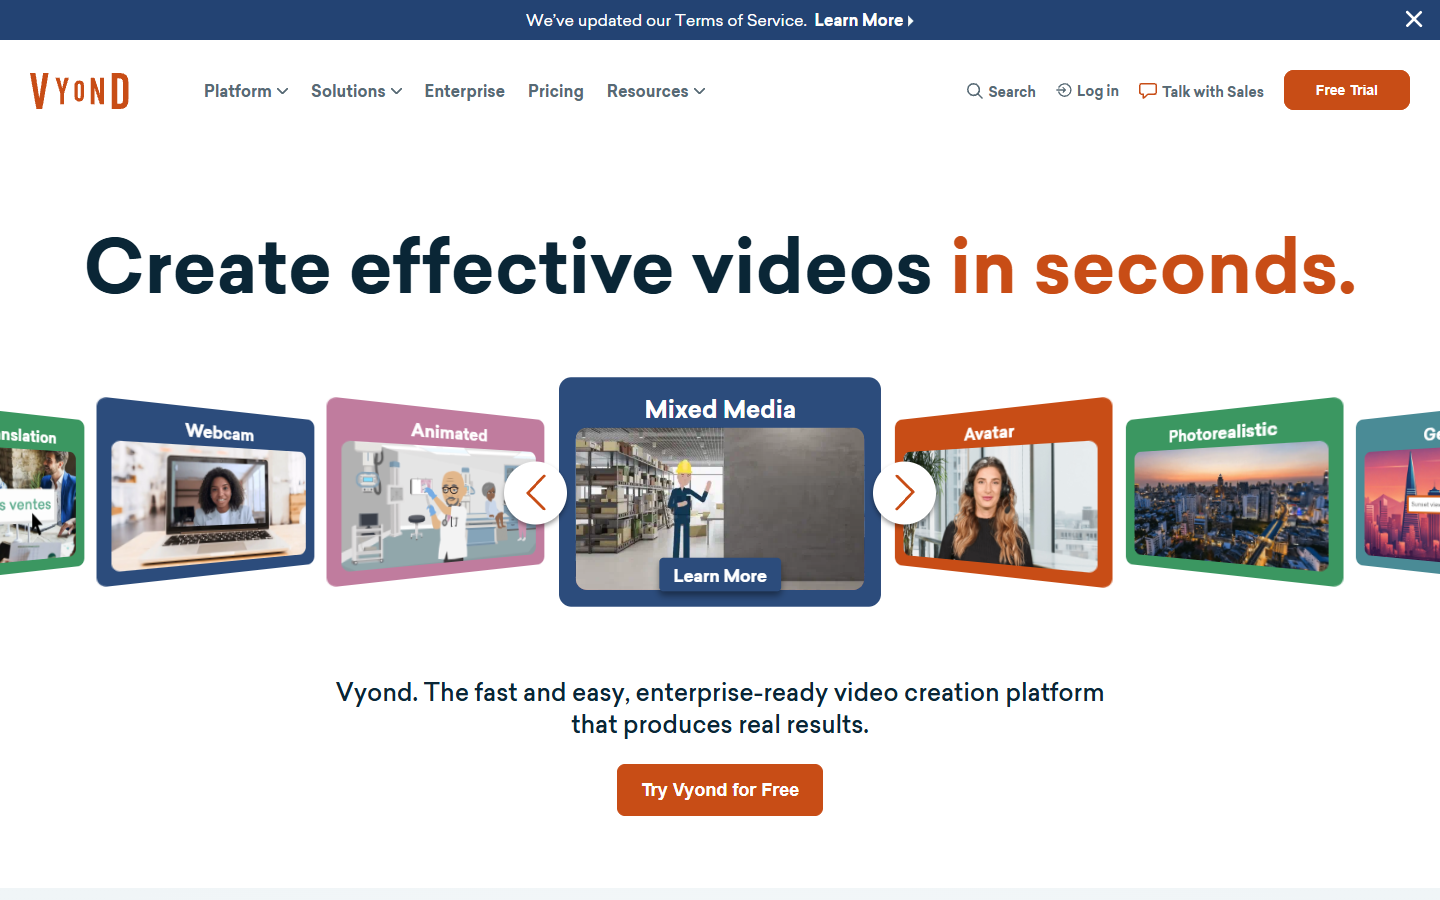
For training videos, internal comms, and onboarding explainers, that predictability is the whole point. A compliance team wants the same character, the same office, and the same brand blue in every scene, and wants to fix one line of voiceover next quarter without regenerating the video.
Verdict: Best for explainer and training animation that must stay on-brand and editable. Feels dated for anything creative-led.
What the generators leave for you
Every tool above returns a baked video file with no layers, no tracks, and no editable text. These jobs are still yours, and they are most of the production time.
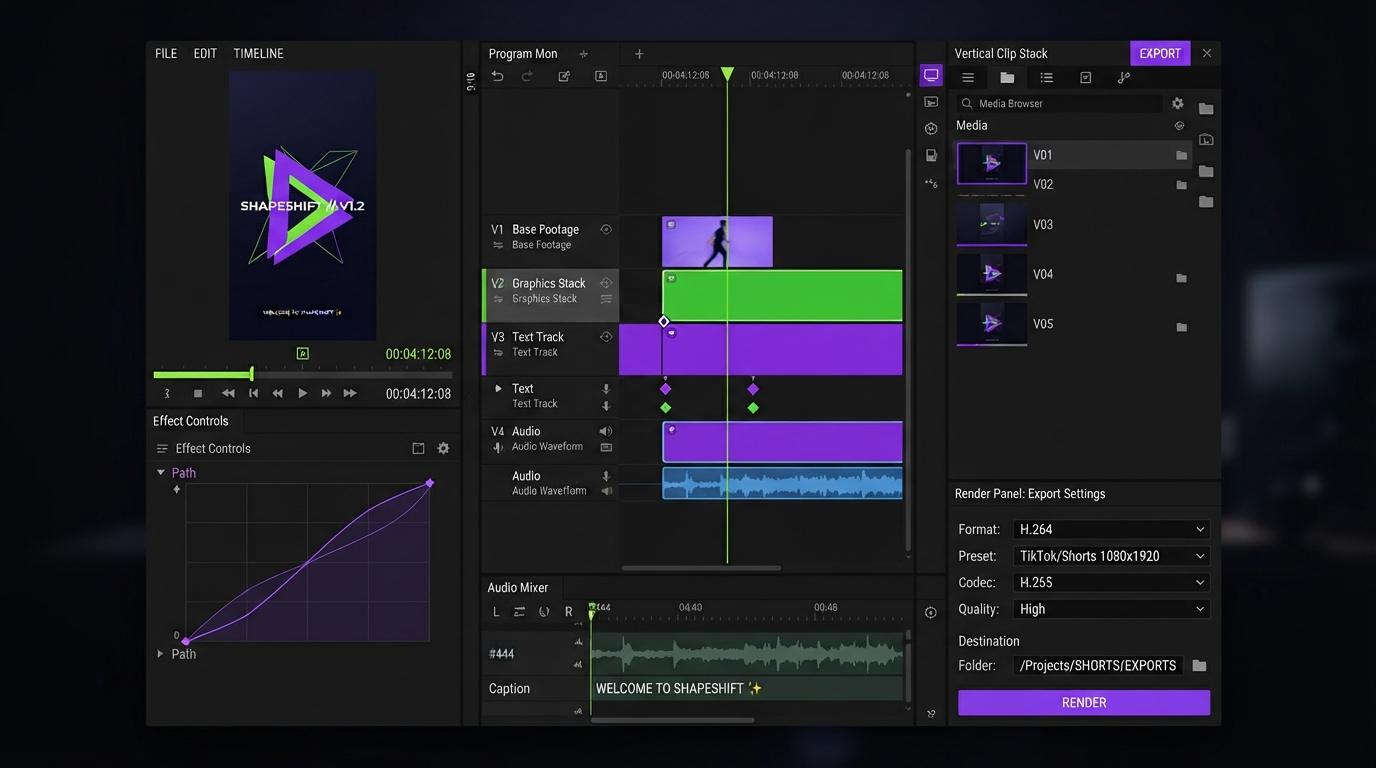
Trim to the good part. A generated clip is rarely good for its whole duration. The first few frames often drift before the motion settles. Cut in late and cut out before the model loses the thread.
Join the shots. Four clips at six seconds each is not a 24 second animation until you merge the videos and match the cut points to your audio. Cut on the beat and the sequence reads as one piece rather than four generations stapled together.
Add readable captions. Most feeds play muted. Burned-in captions are not optional for social animation, and generated clips arrive with none. A dedicated video subtitles pass is faster than typing text layers by hand and gives you timing you can nudge.
Fix the pacing. AI motion frequently lands slightly too fast or too slow for the cut you built around it. Changing clip speed on the timeline is a two second fix. Regenerating for a different pace costs you a credit and a coin flip.
Wrap it in your brand. Intros, outros, lower thirds, and logo stings are keyframe work, not generation work. A reusable animated intro in front of a generated sequence does more for brand recall than another generation pass.
A workflow that ships in an afternoon
- Write the shot list first. One line per shot, with the duration you want. Four to eight shots covers a 30 second piece. Doing this before you open a generator is what stops the aimless prompt loop that eats a whole day.
- Lock the look on a still. Generate or supply one reference image and approve it properly. Every later shot references it, so an hour here saves a day of drift later.
- Generate shot by shot. One action per prompt. If a shot needs two beats, it is two clips.
- Assemble on a timeline. Drop the clips in order, trim heads and tails, and cut to your audio before you add anything decorative.
- Caption, brand, and render. Captions first (they change your pacing), then intro and lower thirds, then export in every aspect ratio the campaign needs. Starting from an animation template skips most of the setup on steps 4 and 5.
Frequently asked questions
Can AI make a full animated video on its own?
Not yet, and not in one pass. Current models are reliable at 4 to 10 second shots. A complete animation is a sequence of those shots joined, trimmed, captioned, and scored on a timeline. Treat the AI as the camera crew, not the editor.
How do I stop my character changing between shots?
Anchor every shot to the same approved reference image instead of prompting each shot from text. Tools built for multi-shot runs make this the default: Wireflow's AI animation maker generates each shot in a sequence from one still or script, so the character and style carry across the set instead of being rerolled per clip. Whatever tool you use, generate the reference once, approve it, and feed it forward.
What is the cheapest way to test an idea?
Generate ten cheap variations on a fast model, pick the two that read at thumbnail size, then regenerate only those two on a stronger model. Testing on the expensive tool is how people burn a month of credits in a week.
Can I edit an AI animation after it is generated?
You can edit the clip, not the animation inside it. The file is baked, so you can trim, speed, crop, overlay, and caption it, but you cannot move a keyframe the model set. Anything that must stay editable (titles, logo animation, data callouts) should be keyframed on your own timeline rather than generated.
Where to start
Pick the one tool from the ranking that matches your output type, generate a single shot, and take it all the way through to a captioned export. That finishing pass teaches you more about which generator you actually need than another week of prompt testing will.
Founder of Motionbox and Gluely. Building tools for creators.